Pi-Cloud
Building a mobile private cloud that will travel with me everywhere and can be used to access as many files as my MicroSD card allows using a raspberry pi zero 2w, pisugar, and nextcloud.
Mobile cloud with NextcloudPi
Inspiration for this project
Back in 2014 when I was in High-School I had this SanDisk Connect wireless usb flash, and I love it!
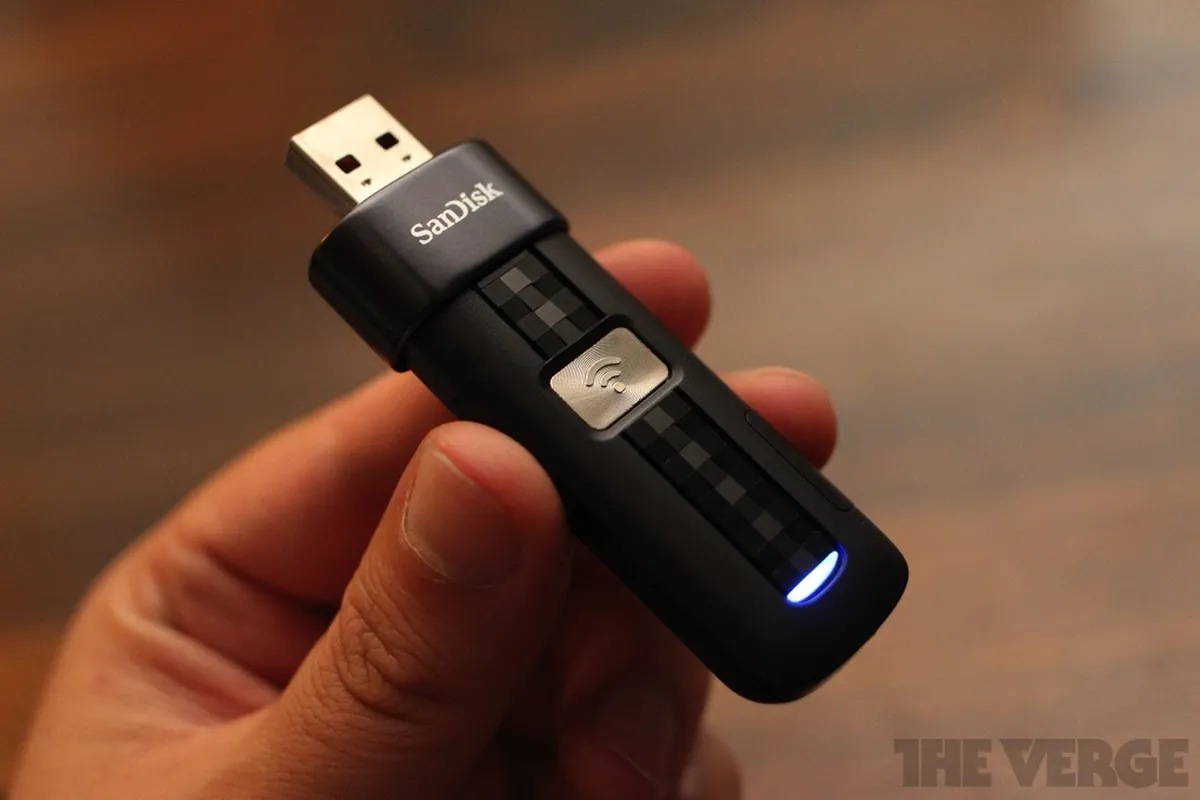 sandisk wireless USB
Now these are only useful when plugged in as the app that use to read the files is not supported anymore. I wanted to see if it would be possible to create something similar or better but with open-source software and somewhat open-hardware.
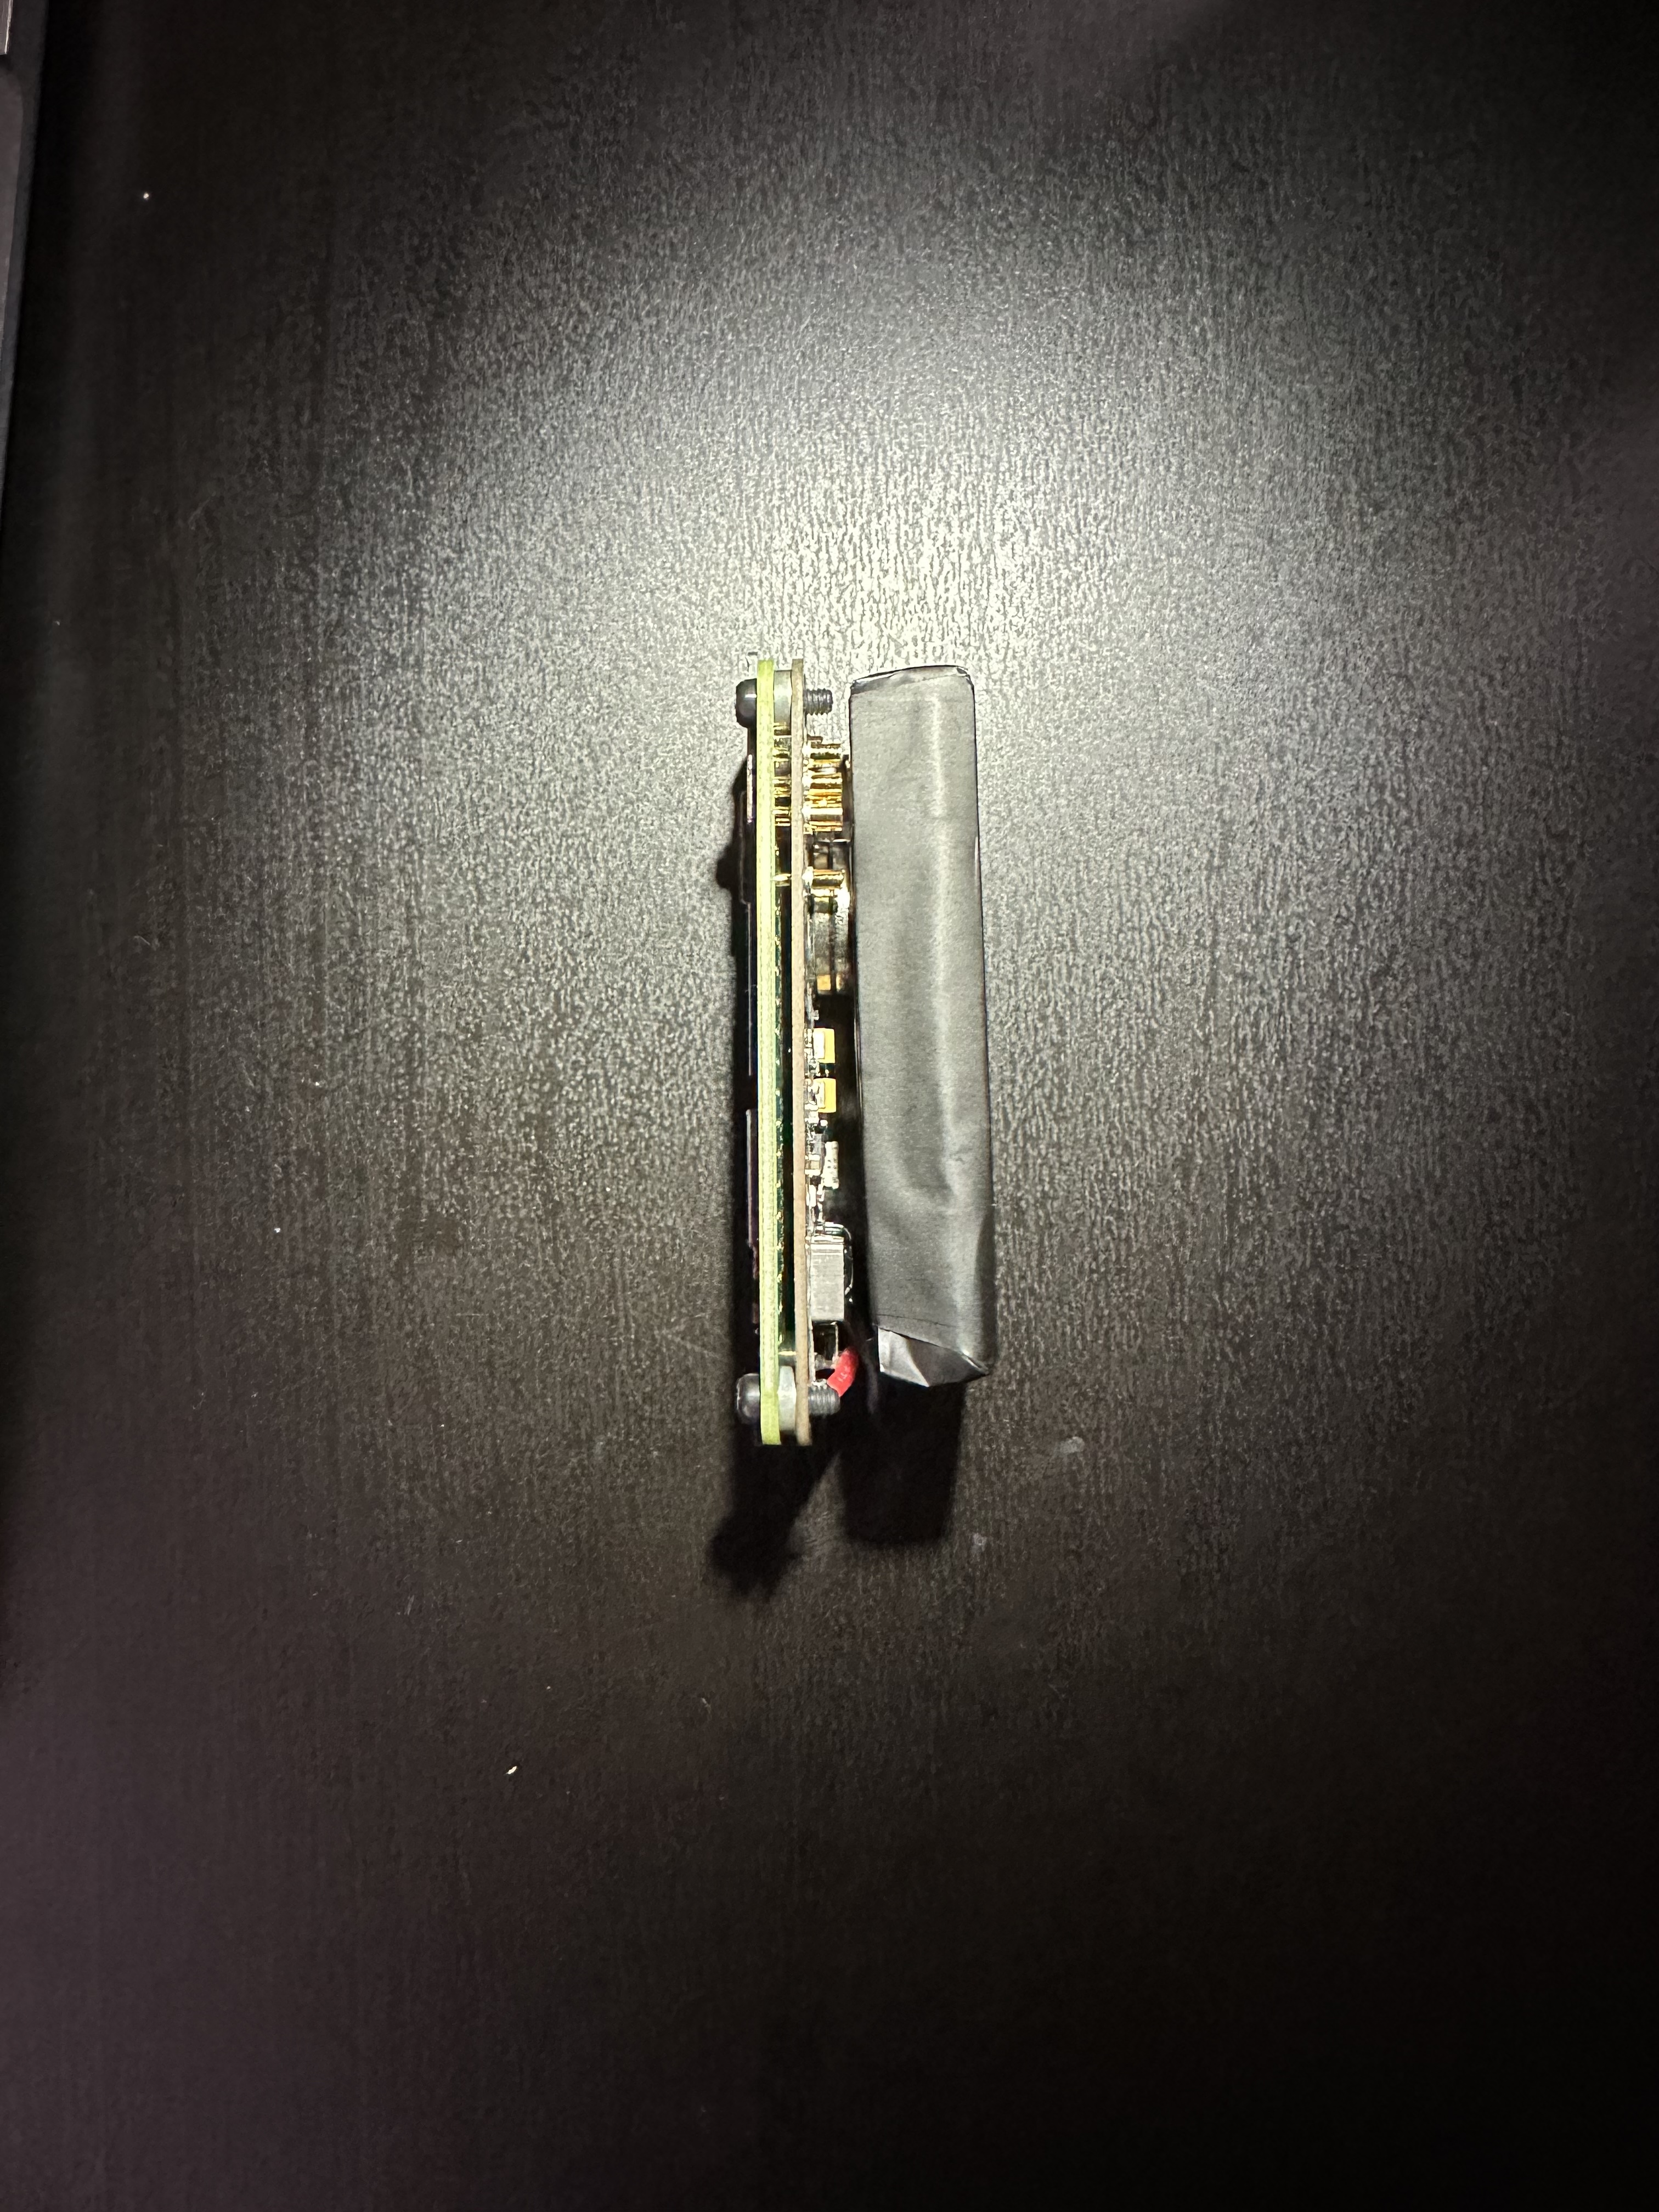 Raspberry pi Zero 2w with PiSugar
Raspberry pi Zero 2w with PiSugar
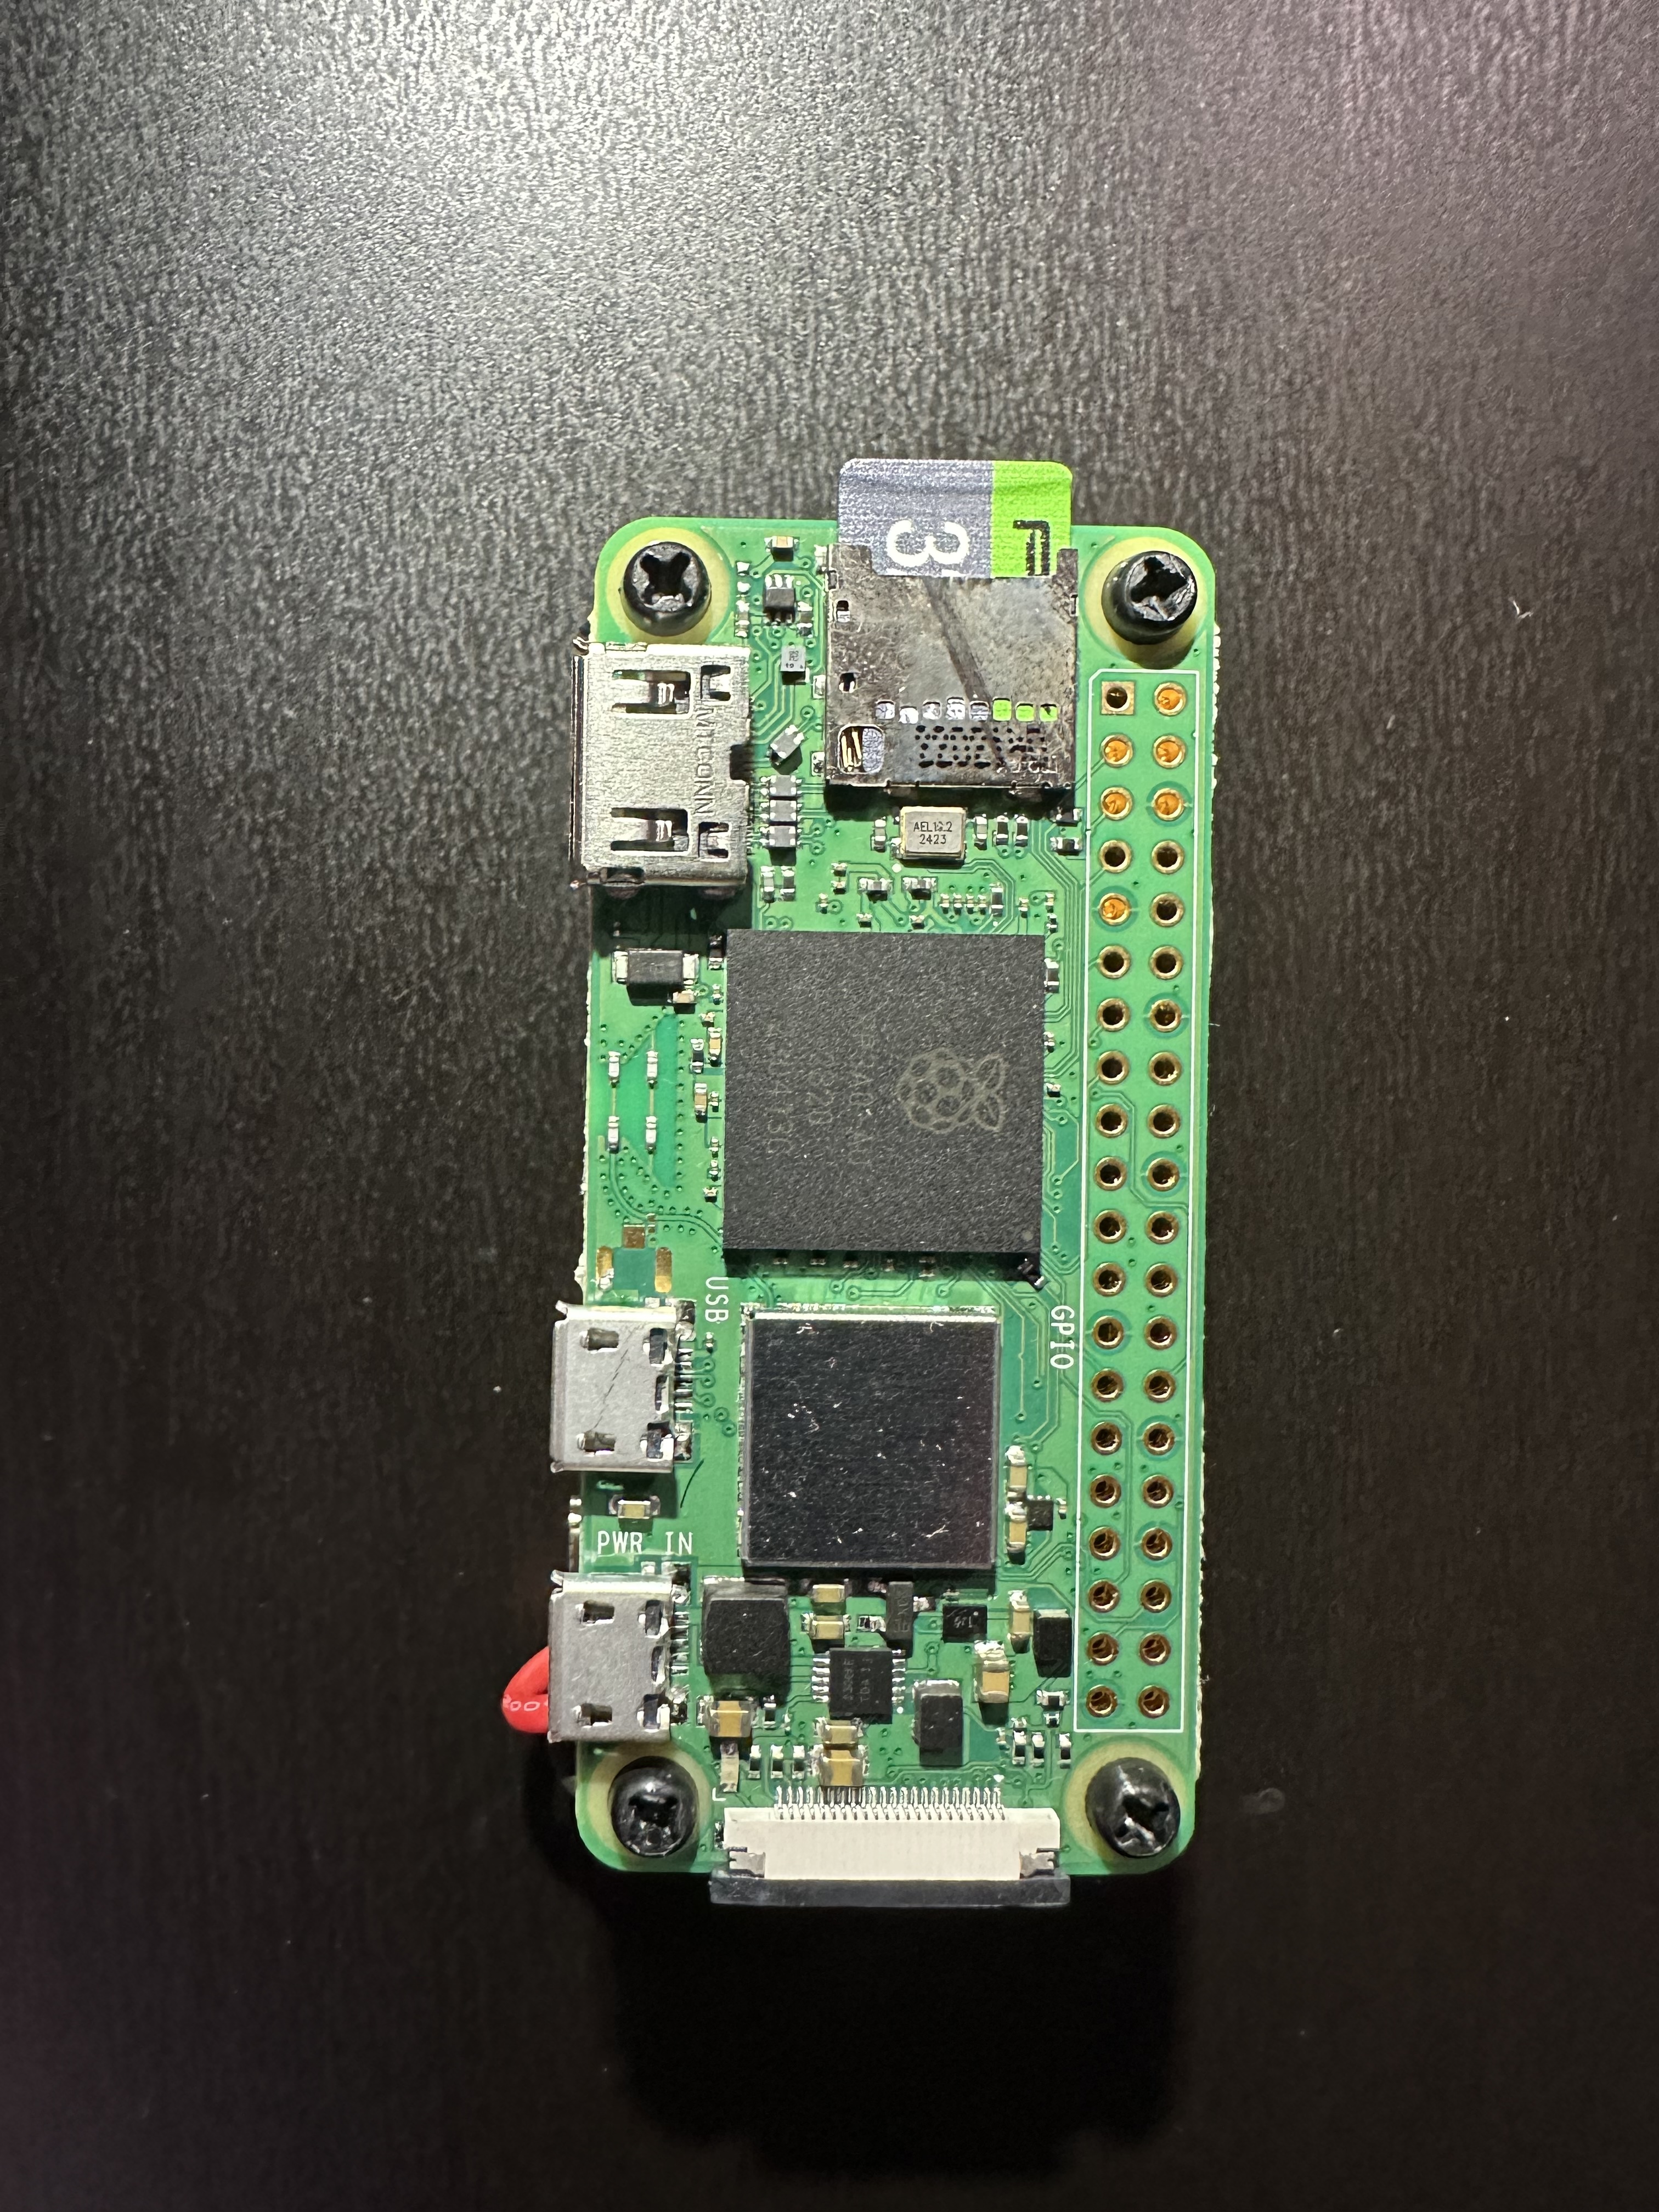 Raspberry Pi zero 2w
Raspberry Pi zero 2w
This is the device that I built. I cannot access all the files directly from the USB connection because Nextcloud store the files in www-data with a group named the same that has access to it. It would also be a security hole if I my pc or any pc has access to everything over usb, so for now it is separated.
Parts list
- Raspberry pi zero 2w. The RPi Zero W is not 64 bits and it is really underpowered with its single core cpu.
- MicroSD Card.
- power bank with a short micro usb cable or a PiSugar.
Steps:
Install and update NextcloudPi
Install NextcloudPi on the MicroSD card using raspberry pi Imager or Balena Etcher.
Raspberry pi Imager makes setting up SSH, Wifi, and Localhost a breeze so I would go with that one to keep it simple.
After Installing the OS, inserting it on the raspberry pi and turning on the raspberry pi.
Run these commands to update and upgrade the OS.
The Install command is going to install these tools:
- bridge-utils; We use it to bridge the eth0 to wlan0 and get internet on hosted wifi if the raspberry pi is connected to ethernet.
- dnsmasq; We needed to be able to have dns & dhcp services on our small network to find the website as nextcloudpi.local instead of 192.168.10.1 or something similar.
- hostapd; We needed to activate and setup our hosted wifi connection.
- libqmi-utils; This includes some utilities for setting up QMI connections ie. WAN / Cellular connections.
- udhcpc, DHCP server utility pretty much.
- htop; This is to monitor my system resources when I am connected over SSH.
sudo apt-get update
sudo apt-get upgrade
sudo apt install bridge-utils dnsmasq hostapd libqmi-utils udhcpc htop
Configure the WIFI access point (hostapd)
sudo systemctl unmask hostapd
sudo systemctl enable hostapd
sudo nano /etc/hostapd/hostapd.conf
→ /etc/hostapd/hostapd.conf
This file will be empty, so copy and paste this configuration file and change it to your needs.
interface=wlan0
country_code=US
# hw_mode is dependant on the wifi specs of your raspberry pi.
# Oldest pi have a b connection but raspberry pi zero 2w have a b/g/n
# Only hw_mode=b is compatible with hostapd on the raspberry pi zero 2w
hw_mode=b
# Use a channel not in use in your network
channel=6
ht_capab=[HT40+]
wmm_enabled=0
macaddr_acl=0
auth_algs=1
# Keep the SSID name the same as the localhost for simplicity sake.
ssid=nextpi
wpa_passphrase=changethispassword
wpa=2
wpa_key_mgmt=WPA-PSK
wpa_pairwise=TKIP
rsn_pairwise=CCMP
# Disable this to insure the AP is visible:
ignore_broadcast_ssid=0
# This allows for the WLAN to be connected through ethernet.
bridge=br0
sudo nano /etc/network/interfaces
allow-hotplug br0
iface br0 inet static
address 192.168.10.1
bridge_ports wlan0 eth0
DAEMON_CONF="/etc/hostapd/hostapd.conf"
Configure a static IP for the wlan0 interface
Go to this file
sudo nano /etc/dhcpcd.conf
After getting on this file, write this at the end of the file and save it.
interface wlan0
static ip_address=192.168.10.2/24
denyinterfaces eth0
denyinterfaces wlan0
Control + x → Control + y → Enter
Configure the DNS & DHCP server (dnsmasq)
sudo mv /etc/dnsmasq.conf /etc/dnsmasq.conf.orig
sudo nano /etc/dnsmasq.conf
interface=wlan0
  dhcp-range=192.168.10.10,192.168.10.30,255.255.255.0,24h
Add a new iptables rule
sudo sh -c "iptables-save > /etc/iptables.ipv4.nat"
iptables-restore < /etc/iptables.ipv4.nat
Script Automation
Every-time that the RPI boots up, it will looks for the iptable to restore it.
sudo crontab -e
@reboot sudo qmistart ; sudo iptables-restore < /etc/iptables
Setup is Done
sudo reboot
And we are done!
Conclusion
After 2 weeks trying to figure out the issues with my setup, I feel somewhat defeated… But I think this was for the better and my idea of a mobile cloud is just best serve with a better SBC such as my Raspberry pi 4 (I already have one running Internet in a box with a next-cloud instance).
Troubleshooting this thought a lot more things about the different Raspberry pi and maybe SBC’s in general. All of this commands on the post I will be using then on my Raspberry pi 4 Dev setup, My Zero 2w will be seeing this commands agains once I decide if I want IIAB or pwnagotchi.
Lastly, While nextcloudpi defeated me now on my goal of achieving this ultra portable device. I will be trying again with a Radxa zero or orange pi zero 2w which both has more ram and better cpu’s. While using my Raspberry pi Zero 2w for something else.
updated 12/12/2023